I am currently enrolled in a class titled: Teaching as Inquiry, at Penn State University's graduate school of education. In this class we are guided through the practice of teacher inquiry. Along with classroom instruction we must conduct our own inquiry based project. It is not "research" but inquiry.
As I did my undergraduate studies in Art Education, I have related my research topic to art classroom instruction. More specifically I want to dig into Art-Cart vs. Art Classroom.
Because of my own encounters with art classrooms and art carts I question “How does the teaching environment affect preparation and execution of lessons by visual arts teachers?” By teaching environment I mean the distinction between art teachers with art classrooms, and art teachers which teach from an art cart. While both types of art teachers could have a teachers room and desk space in some location in the school, I would like to focus more on the teacher's interaction with students and student work. With this question I will search to compare the impact of classroom setting on the preparation and execution of art lessons. I search to find if teachers are prepared for whichever setting they are placed in.
I am looking for ART CART and classroom art teachers who will be willing to fill out a questionnaire to be used as data for my inquiry. It will be anonymous and will not be seen by anyone but myself.
Note: I do need more art cart references because I have more access to classroom art teachers.
If you would like to participate in my survey please contact me at: euh144@psu.edu
Thursday, February 21, 2013

Tuesday, March 20, 2012
book roses
Craft Supplies:
Paper
Grosgrain Ribbon, ½ Width cut to 4 inch lengths
16 Gauge Wire cut to 15 inch lengths
Glue Gun
Glue Sticks (low temp)
Scissors
Wire Cutters
Step 1: Gather materials. If you are using vintage books or sheet music as your paper source make sure it is still flexible enough to curl with your fingers. The wire can be found at the hardware store, and is sometimes called “black wire” or “annealed coil wire.” Be sure you are using low temp hot glue because you’ll be able to feel it right through the paper petals as you work.
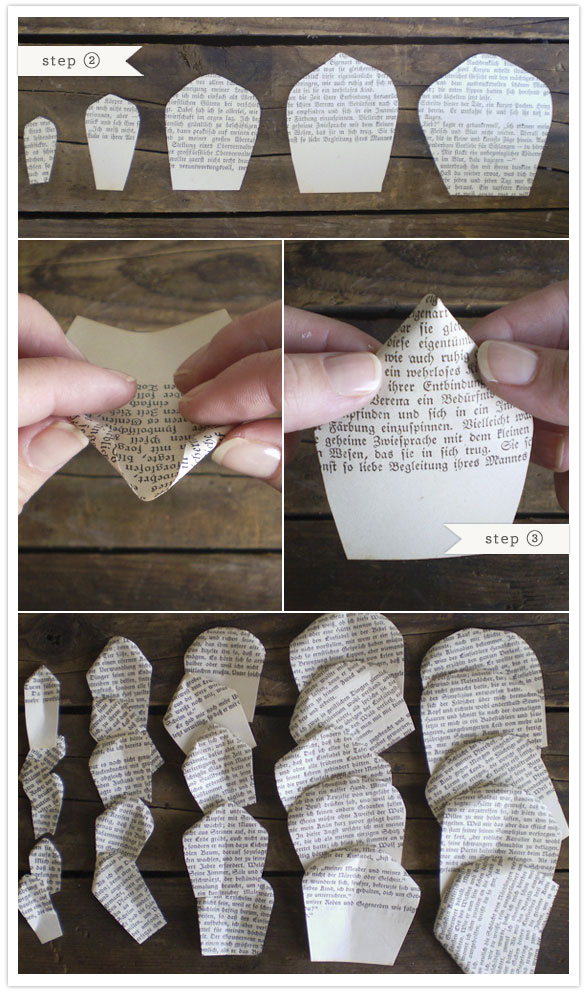
Step 2: Cutting. You will need to stockpile at least 5 different sizes of petals ranging from about ¾ inch wide to 3 inches wide. I cut freehand, and avoid templates, so that each petal is a unique and organic shape. Think of the shapes as little church windows or arches. Some can be pointy, and some can be rounded. For each flower you will need at least 4 of each size. Make more than you need.
Step 3: Shaping. I really feel that this is the most important step to create natural and soft looking flowers. Roll the edges of each petal, and pinch the base slightly. Each one can be done a little differently to give the petals character and roundness. I shape all of my petals before I even begin gluing anything.
22 Jul
DIY storybook paper roses
categories DIY Wedding
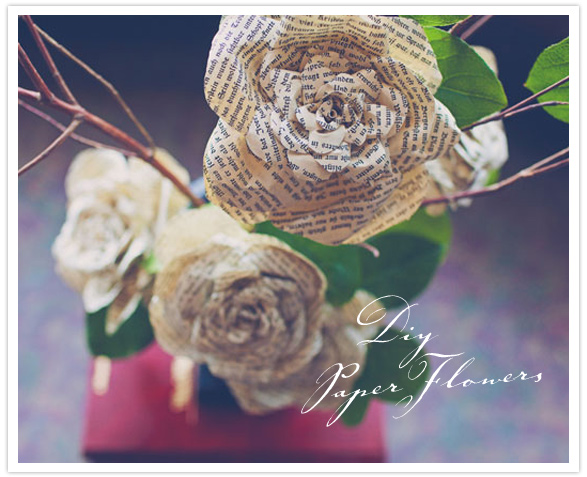
You’re going to love today’s DIY project so much that you’re going to want to start tearing pages out from old books tonight! Remember the storybook roses in Shanna + Richard’s wedding? Sweet, right? Floral designer, Cathy Brim of Bloom Floral Design created the elegant branch bouquets seen in their ceremony using Valerie Lloyd’s paper roses design, and now we’re jumping-out-of-the-pages excited that Valerie is sharing her DIY secrets with you!
diy paper flowers
diy paper flowers
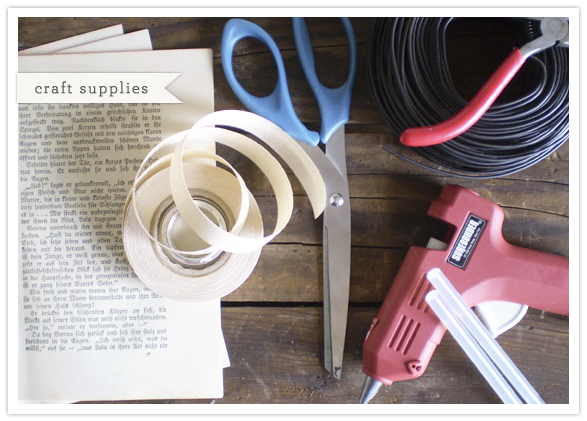
Craft Supplies:
Paper
Grosgrain Ribbon, ½ Width cut to 4 inch lengths
16 Gauge Wire cut to 15 inch lengths
Glue Gun
Glue Sticks (low temp)
Scissors
Wire Cutters
Step 1: Gather materials. If you are using vintage books or sheet music as your paper source make sure it is still flexible enough to curl with your fingers. The wire can be found at the hardware store, and is sometimes called “black wire” or “annealed coil wire.” Be sure you are using low temp hot glue because you’ll be able to feel it right through the paper petals as you work.
diy paper flowers
Step 2: Cutting. You will need to stockpile at least 5 different sizes of petals ranging from about ¾ inch wide to 3 inches wide. I cut freehand, and avoid templates, so that each petal is a unique and organic shape. Think of the shapes as little church windows or arches. Some can be pointy, and some can be rounded. For each flower you will need at least 4 of each size. Make more than you need.
Step 3: Shaping. I really feel that this is the most important step to create natural and soft looking flowers. Roll the edges of each petal, and pinch the base slightly. Each one can be done a little differently to give the petals character and roundness. I shape all of my petals before I even begin gluing anything.
diy paper flowers
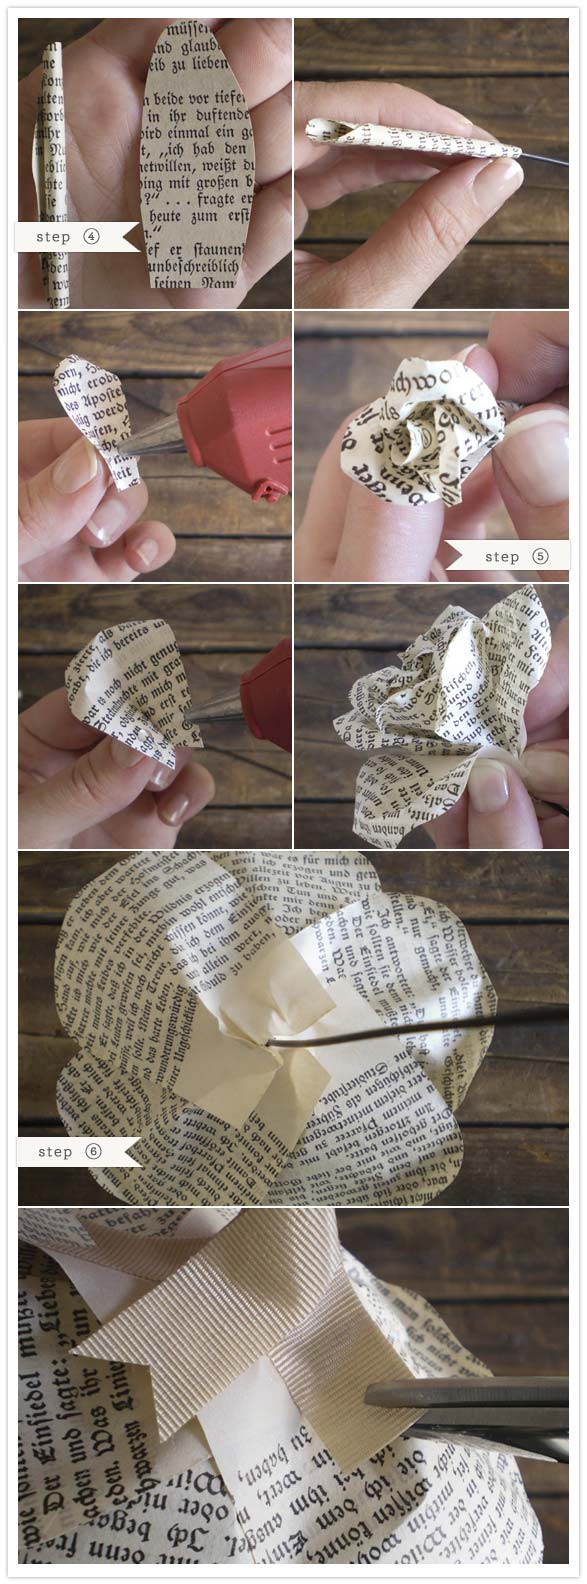
Step 4: Rolling the center. You need to cut out one more shape for each flower, and this is for the coiled center of the rose. This shape should be about 2 ½ inches long with a rounded tip. Roll it up into a tube to create its shape. Unroll it and run a bead of hot glue along the inside and re-roll it around the end of your wire. Another dot of glue will hold it in place.
Step 5: Attaching petals. Begin with your smallest petals. Use a single dot of glue, about ¼ inch from the bottom of the petal to attach it to the stem. Your next petal should overlap the first. Continue adding small petals, rotating the stem as you go, always slightly overlapping the last petal you attached. This is where your artistry will come in as you continue to rotate and build. As you begin adding larger petals pinch the bases, as they are much wider. By pinching at the bases you will be rounding out the rose, and creating space between layers.
Step 6: Finishing. The sepals will be made of ribbon, which will also cover your final seams and create a nice polished look. Each rose needs two – 4 inch lengths of ribbon. Wrap them around the stem and secure to the undersides of the petals. Cut a ‘V’ into each end of the ribbons to finish.



Tuesday, January 24, 2012
that artist woman: Zebra Resist
that artist woman: Zebra Resist: Here is another resist I was experimenting with yesterday. It is wax crayon on newspaper. Using a reference photo I drew a zebr...
that artist woman: Calendar Portrait Studies
that artist woman: Calendar Portrait Studies: As promised here is another way to use those old calendars. They make great teaching aids for portrait studies. Often a s...
that artist woman: How to Paint Spring Trees
that artist woman: How to Paint Spring Trees: This post comes from a request by a teacher to do a Spring Tree version of an earlier post: How to Paint Fall Trees . Very much the same ...
Tuesday, December 13, 2011
Tattoo
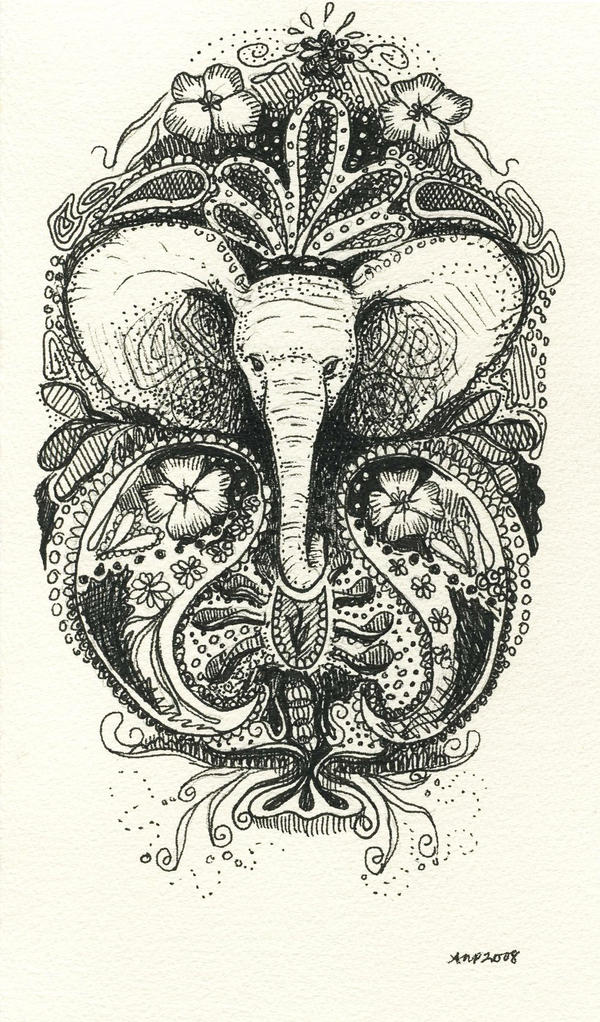
I have recently been asked to design a tattoo for a friend. It really is an honor, but also a pressure. Something that will forever be on her body. I've tried to design a tattoo for someone before, but they decided to go in a different direction... so here are some inspiration photos for the design. Whenever I create an artwork I always find as much imagery as possible to look onto. I tend not to copy the composition or anything, but the inspiration is there. I can use my favorite parts of each piece, like the lighting or color. This allows it to be my own, but I can see back to where my thoughts came from.




Subscribe to:
Posts (Atom)